Serves 10 to 12
Ingredients
For the Yellow Cake
- Nonstick baking spray, for pans
- 3 cups (426 grams) unbleached all-purpose flour
- 2 ¼ cups (480 grams) granulated sugar
- 1 ½ tsp coarse salt
- 1 tsp baking powder
- ½ tsp baking soda
- 2 sticks (1 cup, 226 grams) unsalted butter, very soft
- 1 cup buttermilk
- 4 whole eggs plus 2 yolks
- 1 Tbsp pure vanilla extract
For Finishing
TIPS
-
To save time, trim and split cakes before freezing so the layers are ready to assemble.
-
Storage: The assembled cake will keep at room temperature under a glass bowl or cake dome for up to 2 days, or can be refrigerated for up to 1 week. Bring to room temperature before serving. Butter cakes and frostings shouldn’t be served cold.
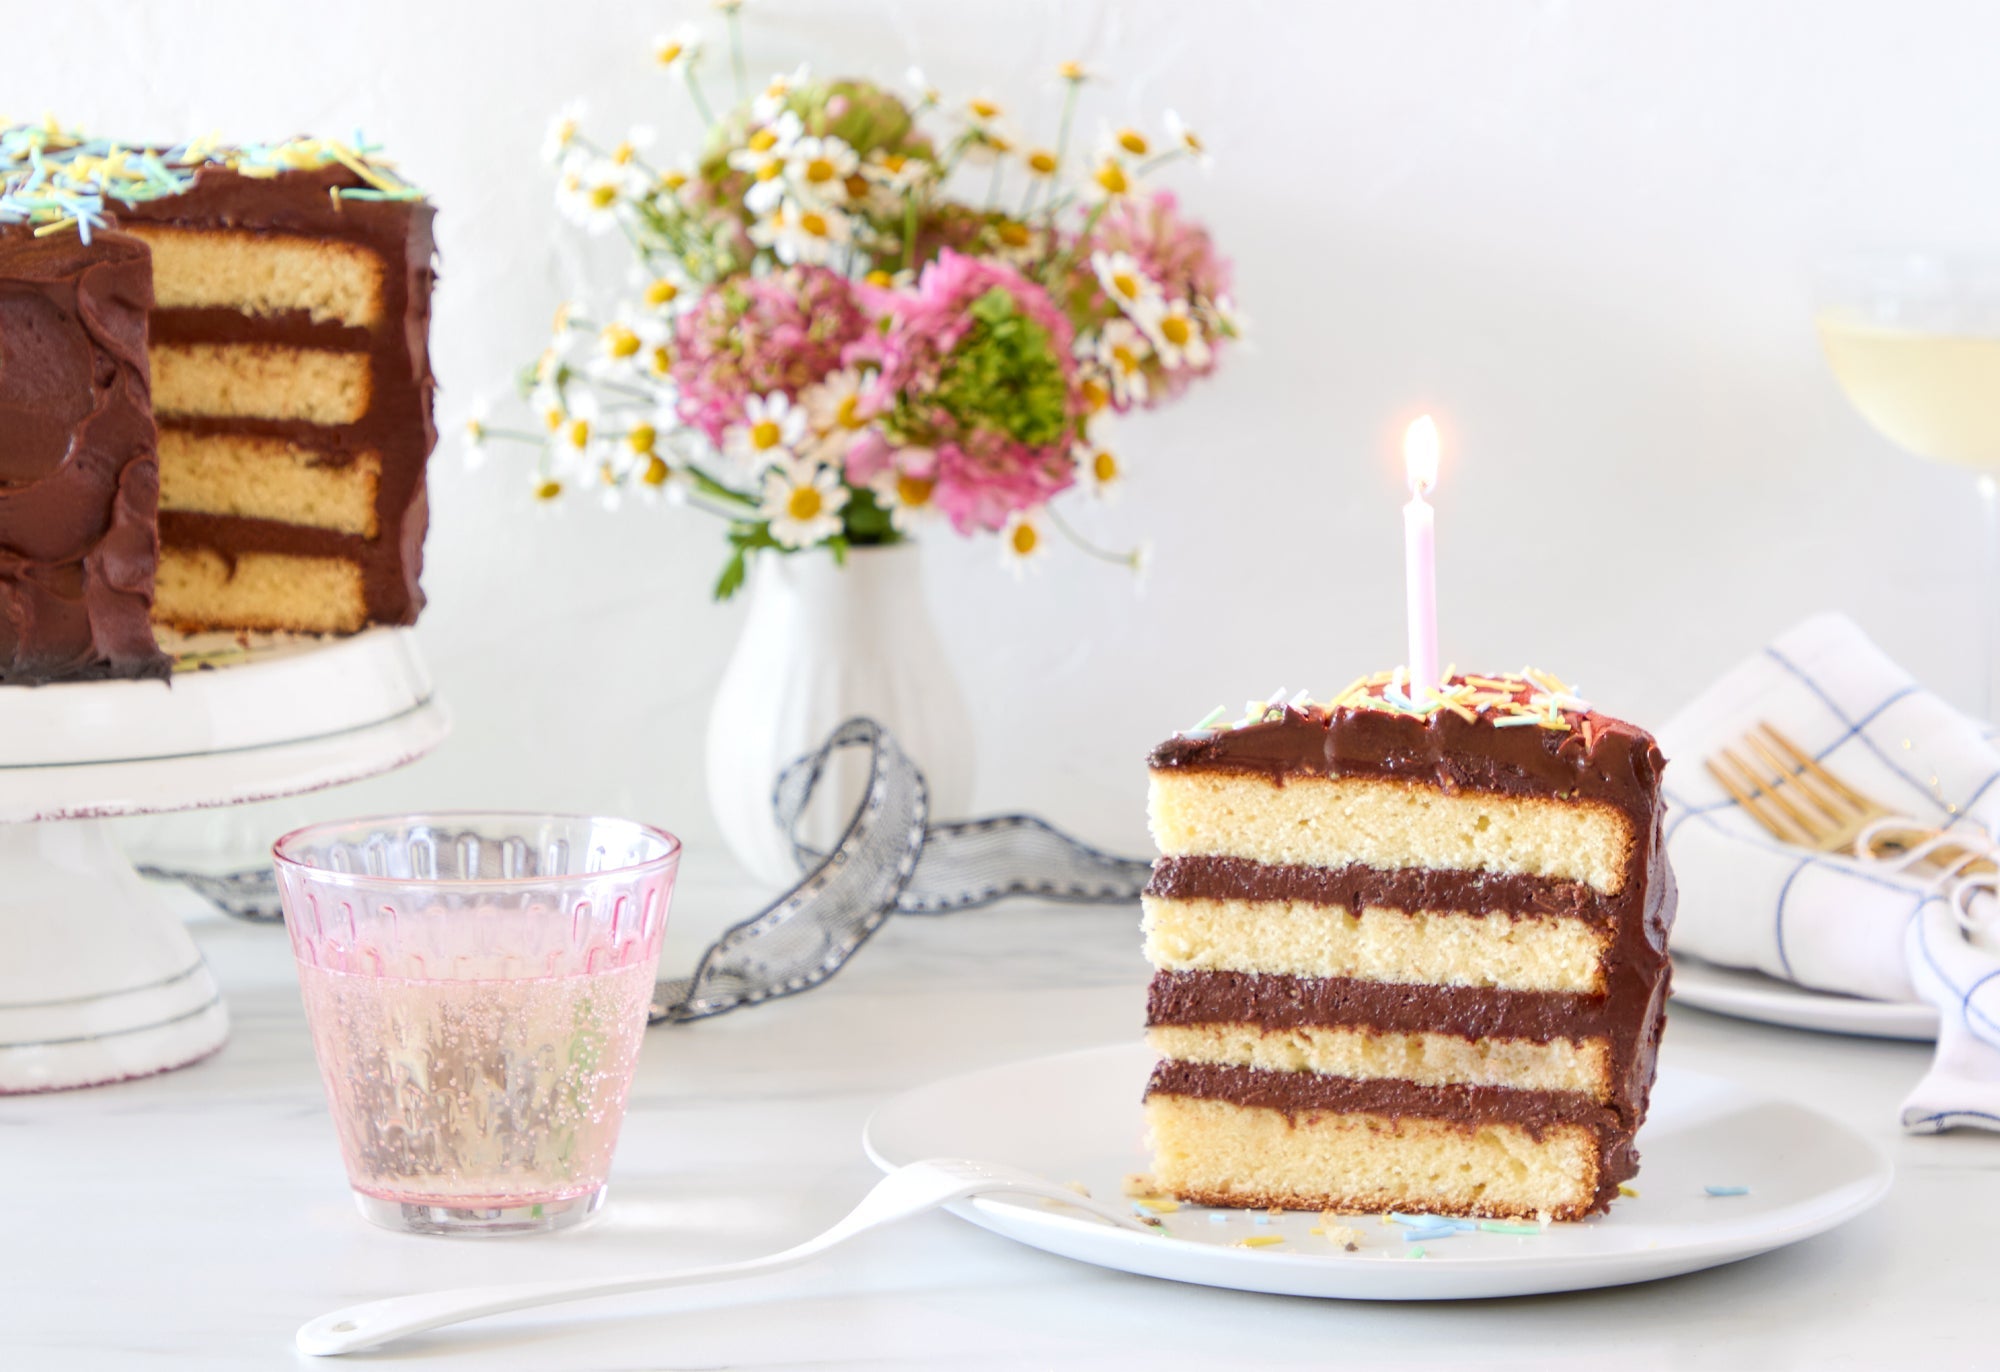
My Grandma Bim had a neighbor, Mary, whose birthday cakes are the stuff of legend in my family. We’ve come to call any yellow cake with chocolate frosting Mary’s Cake, but since I never met Mary (and Grandma Bim’s recipes are my gold-standard) I’ve named this one after her. Underneath the rich chocolate frosting, you’ll find four layers of tender yellow cake made with tangy buttermilk and lots of vanilla. It’s a balanced sweetness that, like us all, only seems to improve with age. As this cake rests, its flavors mellow and marry. Make it the day before serving as a test of your resistance to temptation!
You’ll need exceptionally soft, but not melted, butter to make this cake, which uses the “reverse creaming” method you might be familiar with from boxed cake mixes. I regret to inform you that the best way to soften butter is simply to leave it out of the fridge and let time do the work. You can cut the butter into small pieces to speed up the process. If you must, microwave it on low power in very short bursts, and be careful not to overheat.
By Jason Schrieber
Step 1
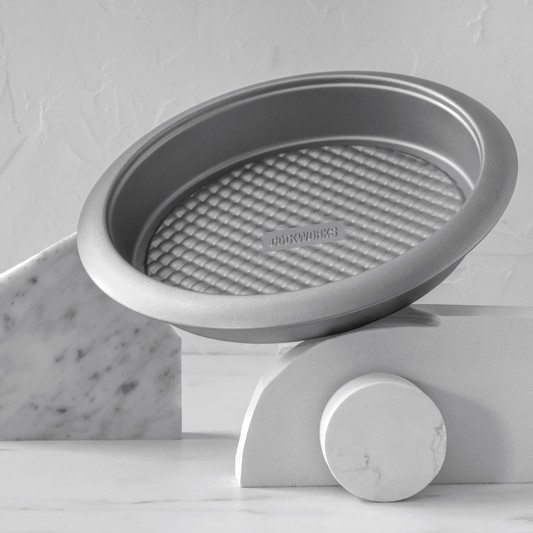
Position a rack in the center of the oven and heat to 350℉. Generously grease two 8 x 2-inch round cake pans and set aside.
Step 2
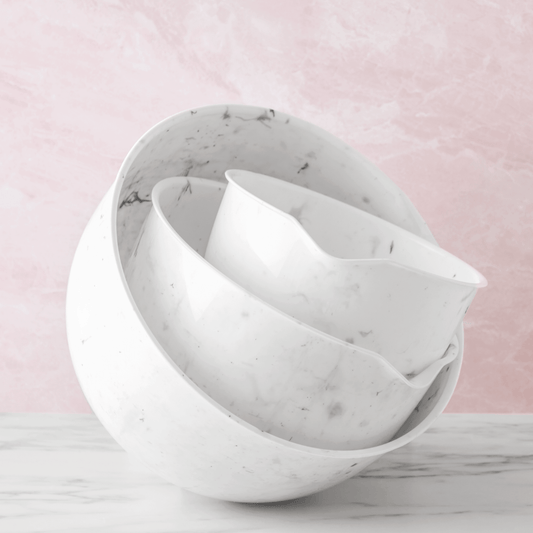
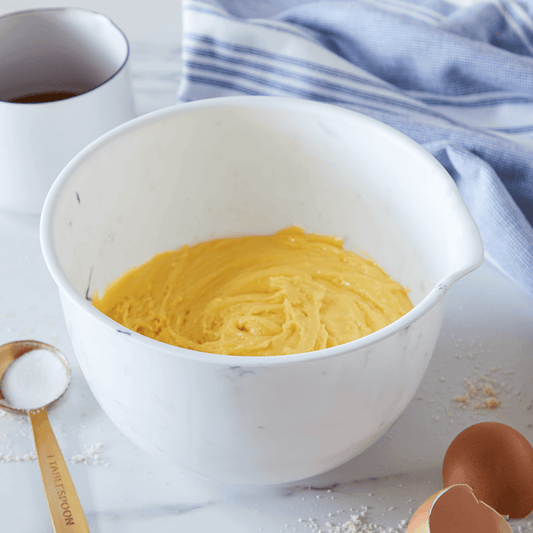
Remove the bowl from a stand mixer. Place the flour, sugar, baking powder, baking soda, and salt in the bowl, and whisk by hand to combine. Position the bowl in the mixer, fitted with its paddle attachment. Add the very soft butter, and mix on low speed until the butter is completely incorporated and the mixture feels like wet sand, 1 to 2 minutes. Meanwhile, in a separate bowl whisk together the buttermilk, eggs, and vanilla until lightly beaten.
Step 3
Pour the wet ingredients into the mixer bowl, and mix on low speed until all the dry ingredients have been moistened, about 15 seconds.
Step 4
Gradually increase the mixer speed to high, and beat on high speed until the batter is smooth and voluminous, about 2 minutes. Stop the mixer and use a rubber spatula to scrape down the sides of the bowl, then beat on high speed for 10 seconds more.
Step 5
Divide the batter evenly into the prepared pans and smooth the tops with a spatula. Firmly tap each pan on the counter 5 times to release air bubbles from the batter.
Step 6
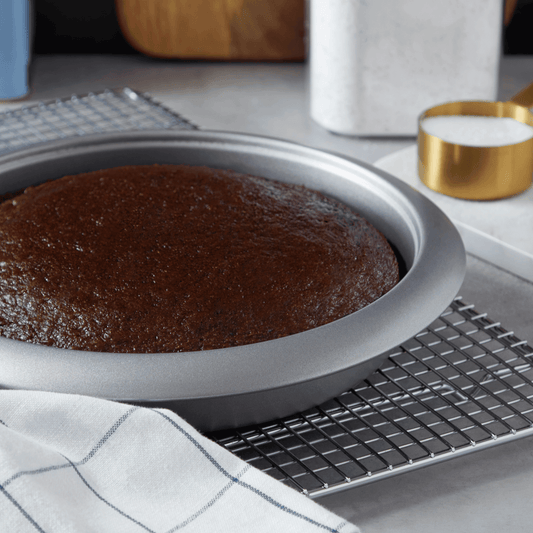
Bake the cakes until they are golden brown, spring back when gently touched, and a tester inserted into the center comes out clean, about 55 minutes.
Step 7
Let the cakes cool in the pans for 5 minutes. Flip the cakes out of the pans onto wire racks, then invert so the tops of the cakes are face-up. Set aside to cool completely. Once cooled, the cakes can be wrapped and stored at room temperature for up to a day, or frozen for up to 3 months. Bring to room temperature before unwrapping, if frozen.
Step 8
To trim and split the cakes, it’s helpful, but not strictly necessary, to have a rotating cake stand. Using a sharp, serrated knife first score a line along the top edge of the cake, just below the dome (usually about 1 ½-inches from the bottom of the cake). Once you’ve scored all the way around the cake, begin slicing into the cake along that line, holding the serrated knife horizontally and sawing back and forth, while rotating the cake with your opposite hand. When you reach the center of the cake the dome will be released. Save it for snacks.
Step 9
Score another line around the cake halfway up the side (usually about ¾-inch from the bottom of the cake). Slice into the cake in the same manner until you get to the center and create 2 even layers; set aside. Trim and split the other cake in the same manner. In the end you’ll have four even layers, two with a bottom crust attached and two that have been sliced on both sides.
Step 10
Place one of the bottom layers, crust-side down, on a serving platter or rotating cake stand. Dollop about 1 cup of Rich Chocolate Frosting onto the center of the cake layer and spread evenly with a spatula to about ¼-inch thick. Top with another cake layer and press gently to adhere. Dollop with another cup of frosting and spread with the spatula. Continue building the cake in this manner, ending with the second bottom layer as the top, crust-side up.
 Step 11
Dollop a generous 1 cup of frosting on top of the cake and spread thinly over the top and sides with a spatula to form a crumb coat. This helps keep the outer layer of frosting clean and crumb-free.

Step 12
Spread the remaining frosting over the top and sides of the cake, using a spatula to form a smooth coat or decorative swoops and swirls, as you prefer. Garnish with sprinkles, sparklers, and candles.
You’ll need exceptionally soft, but not melted, butter to make this cake, which uses the “reverse creaming” method you might be familiar with from boxed cake mixes. I regret to inform you that the best way to soften butter is simply to leave it out of the fridge and let time do the work. You can cut the butter into small pieces to speed up the process. If you must, microwave it on low power in very short bursts, and be careful not to overheat.
By Jason Schrieber
Instructions
Step 1Position a rack in the center of the oven and heat to 350℉. Generously grease two 8 x 2-inch round cake pans and set aside.
Step 2
Remove the bowl from a stand mixer. Place the flour, sugar, baking powder, baking soda, and salt in the bowl, and whisk by hand to combine. Position the bowl in the mixer, fitted with its paddle attachment. Add the very soft butter, and mix on low speed until the butter is completely incorporated and the mixture feels like wet sand, 1 to 2 minutes. Meanwhile, in a separate bowl whisk together the buttermilk, eggs, and vanilla until lightly beaten.
Step 3
Pour the wet ingredients into the mixer bowl, and mix on low speed until all the dry ingredients have been moistened, about 15 seconds.
Step 4
Gradually increase the mixer speed to high, and beat on high speed until the batter is smooth and voluminous, about 2 minutes. Stop the mixer and use a rubber spatula to scrape down the sides of the bowl, then beat on high speed for 10 seconds more.
Step 5
Divide the batter evenly into the prepared pans and smooth the tops with a spatula. Firmly tap each pan on the counter 5 times to release air bubbles from the batter.
Step 6
Bake the cakes until they are golden brown, spring back when gently touched, and a tester inserted into the center comes out clean, about 55 minutes.
Step 7
Let the cakes cool in the pans for 5 minutes. Flip the cakes out of the pans onto wire racks, then invert so the tops of the cakes are face-up. Set aside to cool completely. Once cooled, the cakes can be wrapped and stored at room temperature for up to a day, or frozen for up to 3 months. Bring to room temperature before unwrapping, if frozen.
Step 8
To trim and split the cakes, it’s helpful, but not strictly necessary, to have a rotating cake stand. Using a sharp, serrated knife first score a line along the top edge of the cake, just below the dome (usually about 1 ½-inches from the bottom of the cake). Once you’ve scored all the way around the cake, begin slicing into the cake along that line, holding the serrated knife horizontally and sawing back and forth, while rotating the cake with your opposite hand. When you reach the center of the cake the dome will be released. Save it for snacks.
Step 9
Score another line around the cake halfway up the side (usually about ¾-inch from the bottom of the cake). Slice into the cake in the same manner until you get to the center and create 2 even layers; set aside. Trim and split the other cake in the same manner. In the end you’ll have four even layers, two with a bottom crust attached and two that have been sliced on both sides.
Step 10
Place one of the bottom layers, crust-side down, on a serving platter or rotating cake stand. Dollop about 1 cup of Rich Chocolate Frosting onto the center of the cake layer and spread evenly with a spatula to about ¼-inch thick. Top with another cake layer and press gently to adhere. Dollop with another cup of frosting and spread with the spatula. Continue building the cake in this manner, ending with the second bottom layer as the top, crust-side up.
Dollop a generous 1 cup of frosting on top of the cake and spread thinly over the top and sides with a spatula to form a crumb coat. This helps keep the outer layer of frosting clean and crumb-free.
Step 12
Spread the remaining frosting over the top and sides of the cake, using a spatula to form a smooth coat or decorative swoops and swirls, as you prefer. Garnish with sprinkles, sparklers, and candles.
Featured Products

Join the Discussion