Serves 12
Ingredients
- Nonstick spray for greasing the pan
- 3/4 cup (107 grams) all-purpose flour
- 3/4 tsp (2.3 grams) baking powder
- 1/2 tsp (1.5 grams) coarse salt
- 1/2 cup (128 grams) smooth peanut butter such as Skippy or Jif
- 4 Tbsp (1/2 stick) (57 grams) unsalted butter, softened
- 3/4 cup (159 grams) firmly packed light brown sugar
- 1 whole, plus 1 yolk large eggs
- 1/3 cup (83 milliliters) whole milk
- 1 tsp (5 milliliters) pure vanilla extract
- 1/3 cup (107 grams) strawberry jam
- 1 pound (454 grams) strawberries, the largest ones cut into halves or quarters
Storage Tip
- This cake stores well enough in the refrigerator, but you’re not going to have to worry about that for long.
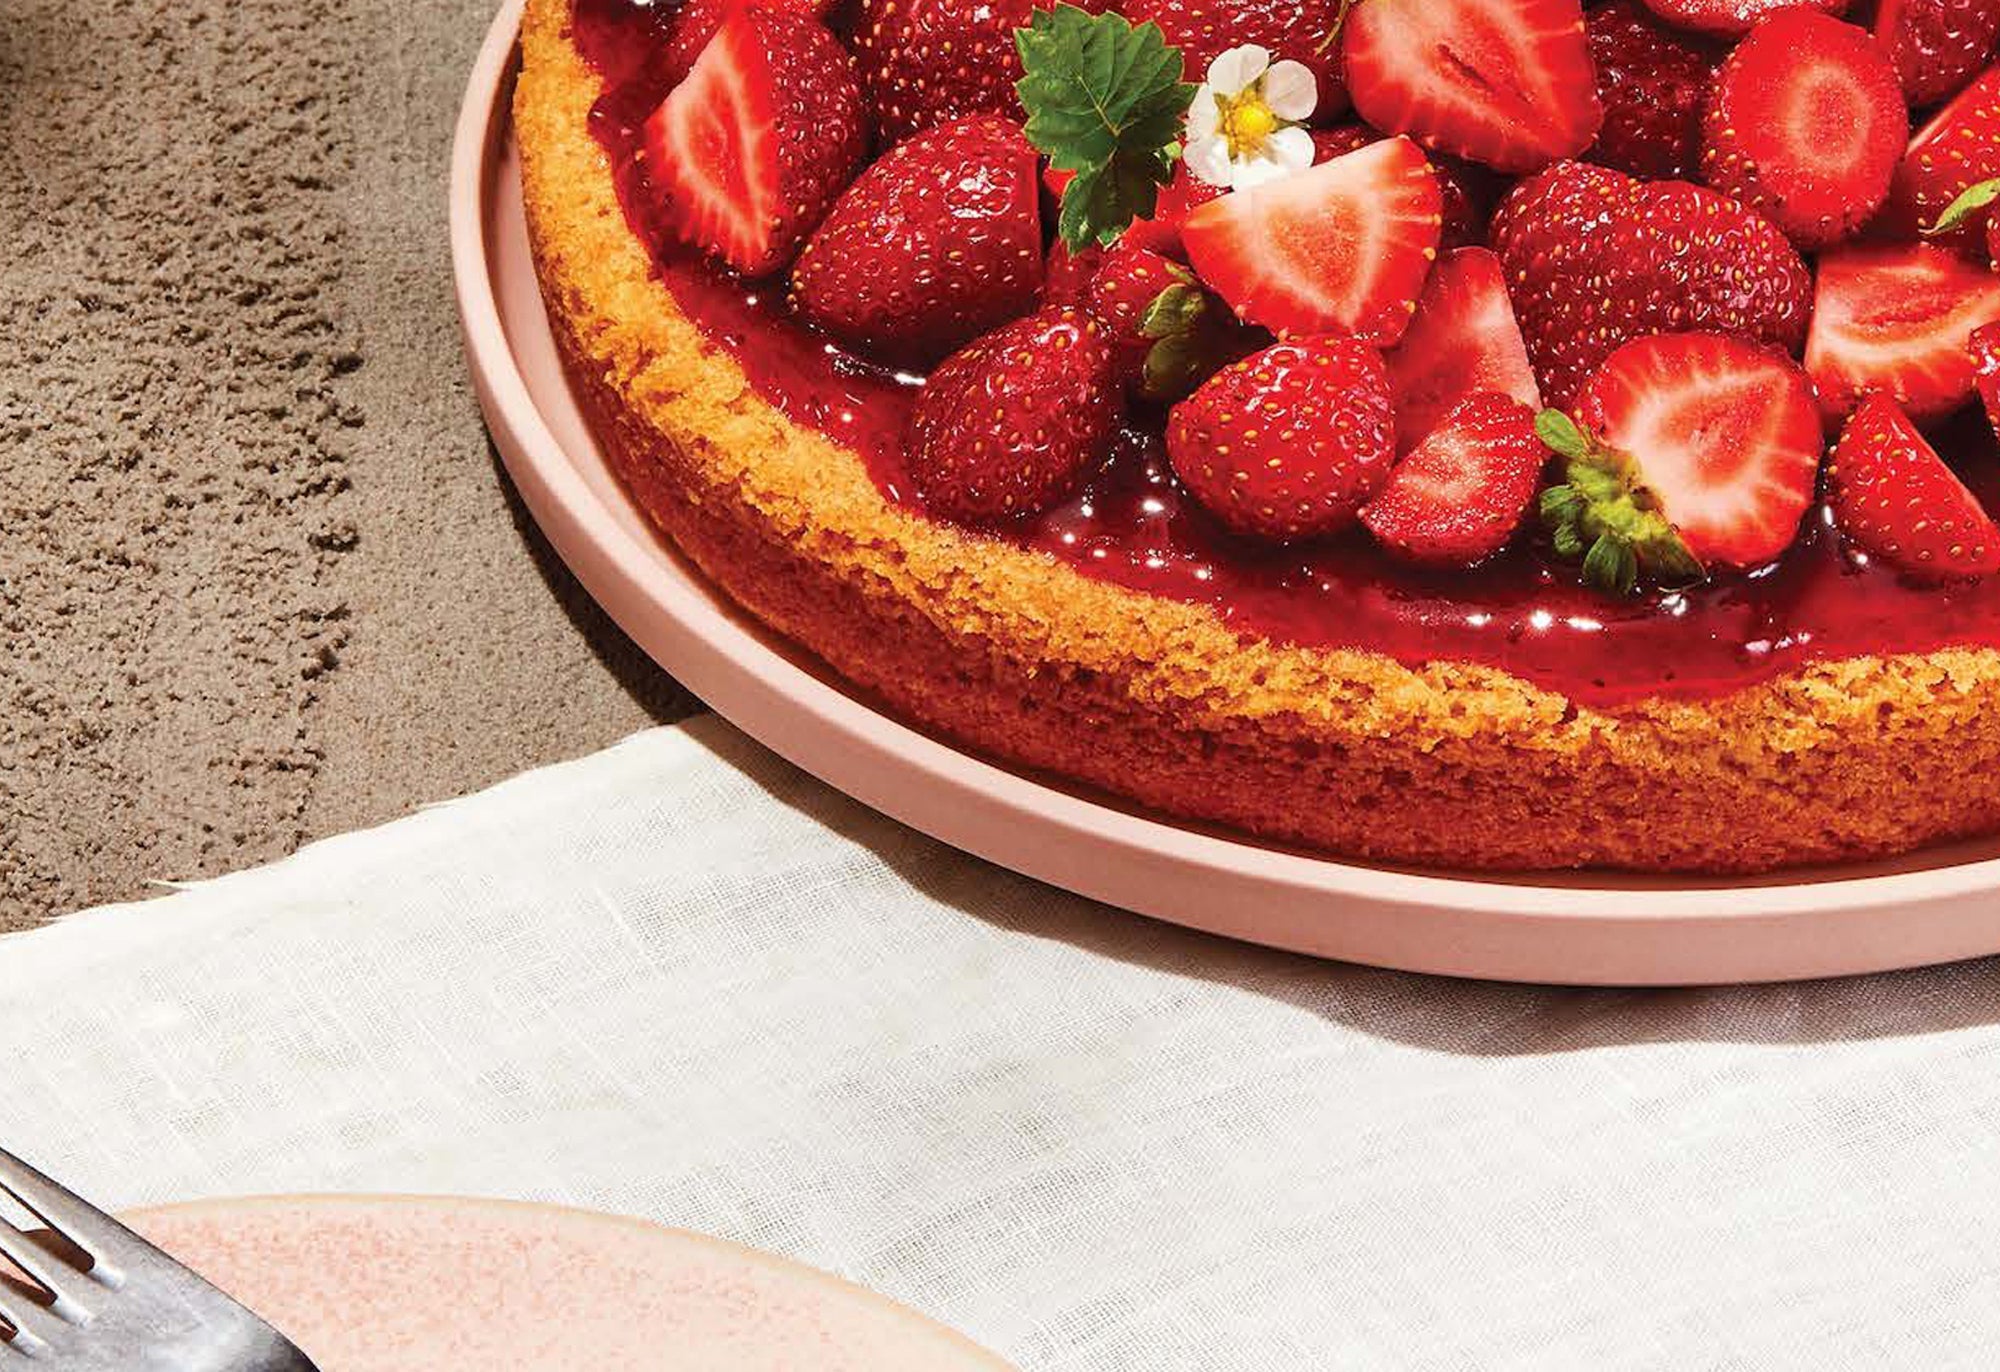
I love peanut butter. It’s what I would take to a desert island, on a road trip, and possibly to my grave. I prefer natural peanut butter: the kind with only two ingredients that need to be lovingly stirred back together for my spoon licking and toast spreading. I have learned (reluctantly) that it’s a poor choice when it comes to baking. It weighs down and toughens batters; trust me, that’s not what you’re after. Go with something unnatural here. This cake bakes up with a creamy texture and irresistibly peanutty flavor, just savory enough to balance the sweetness of the jam and berries. It’s a cake that you might have to hide from your children—or yourself.
By Jason Schreiber, recipe developer & food stylist
Instructions
Step 1
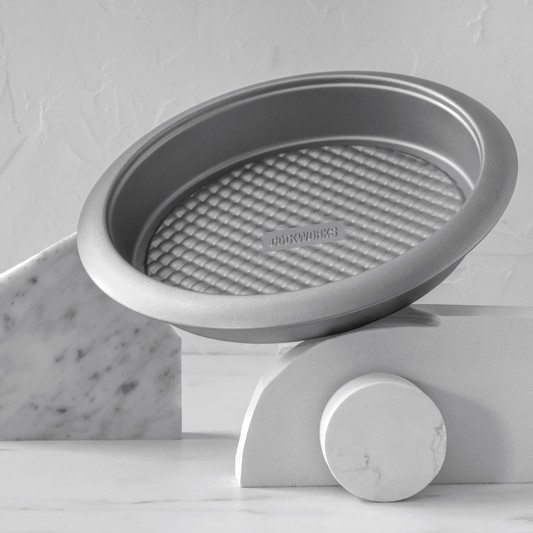
Preheat the oven to 350°F (180°C) with a rack in the center position. Lightly coat a 9 x 2-inch round cake pan with nonstick spray.
Step 2
In a medium bowl, whisk together the flour, baking powder, and salt. Set aside.
Step 3
In the bowl of an electric mixer fitted with the paddle attachment, combine the peanut butter, butter, and light brown sugar. Beat together on medium speed until the mixture is smooth and very creamy, about 3 minutes. Stop the mixer, scrape down the sides of the bowl, and add the egg and yolk. Continue beating on medium speed until the egg has been completely incorporated into the batter, about 1 minute longer.
Step 4
With the mixer running on low speed, add half the flour mixture, beating until just combined. Scrape down the sides of the bowl and continue mixing on low speed while slowly adding the milk and vanilla. Add the remaining flour mixture and stir by hand until smooth. Scrape the batter into the prepared pan and smooth the top with a small offset spatula.
Step 5
Bake until the cake is just firm to the touch and a cake tester inserted into the center comes out with moist crumbs, about 25 minutes.
Step 6
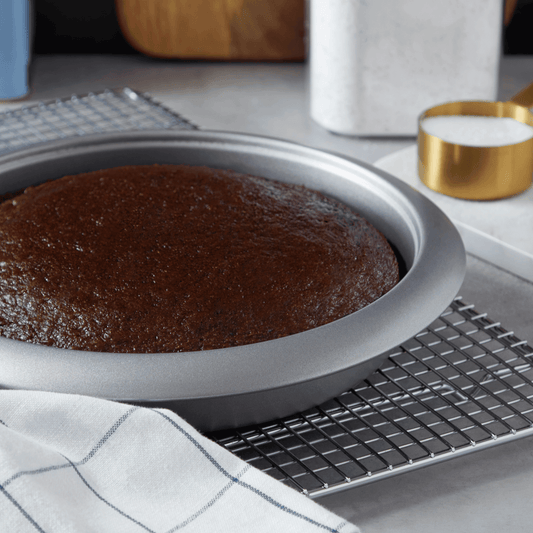
Transfer the pan to a wire rack. Allow the cake to rest in the pan for 10 minutes before inverting it onto the rack to cool completely.
Step 7
Transfer the cake to a serving platter. Be careful, because the underside may want to stick to the cooling rack. (It’s a sign of how delicious the cake will be.) Spread the jam over the top of the cake, leaving about a 1/2-inch border around the edges, and then pile high with strawberries. Try not to dig in before your guests arrive.

Recipe excerpt from FRUIT CAKE by Jason Schreiber. © 2020 by Jason Schreiber. Used with permission by William Morrow, and imprint of HarperCollins Publishers. All rights reserved.
Featured Products
Featured Posts


Join the Discussion