Serves 10 to 12
Ingredients
For the turkey
- One 11- to 12-lb natural, heritage, or organic turkey, thawed if frozen, plastic pop-up timers and leg ties removed and discarded, if present. Gizzards, neck, and organs removed and saved for another use. (Do not buy a pre-brined turkey.)
For the dry rub
- 3 1/2 Tbsp kosher salt, preferably Diamond Crystal, or 3 Tbsp Morton, divided
- 2 tsp granulated garlic
- 1 tsp dried oregano
- 1 tsp smoked paprika
For the shallot-herb compound butter
- 6 Tbsp unsalted butter, softened
- 3 Tbsp minced shallot
- 1 Tbsp minced fresh parsley
- 1 1/2 tsp lemon zest
For the gravy
- (Makes about 2 cups medium-thick gravy)
- 3 1/4 cups low-sodium chicken broth, more as needed
- 2 medium apples, preferablyGala or Pink Lady
- ¼ cup all-purpose flour
- Kosher salt and freshly ground black pepper
Make-Ahead Tips
- The rub can be made up to 3 days in advance and stored, covered, at room temperature.
- The compound butter can be made up to 2 days in advance, covered, and refrigerated.
Dry Rub Variations using Diamond Crystal Kosher Salt
(For under the skin only. Note that an additional 5 1/4 tsp salt is needed to sprinkle inside the cavity and on the surface of the skin).
- Latin Style: 5 1/4 tsp kosher salt, 2 tsp granulated garlic, 1 tsp ground cumin, 1 tsp ground ancho chili.
- Mediterranean Style: 5 1/4 tsp kosher salt, 2 tsp granulated garlic, 2 tsp dried Italian seasoning.
- Asian Style: 5 1/4 tsp kosher salt, 2 tsp granulated garlic, 1 tsp Chinese 5-Spice powder, 1 tsp brown sugar.
Dry Rub Variations using Morton Kosher Salt
(For under the skin only. Note that an additional 4 1/2 tsp salt is needed to sprinkle inside the cavity and on the surface of the skin).
- Latin Style: 4 1/2 tsp kosher salt, 2 tsp granulated garlic, 1 tsp ground cumin, 1 tsp ground Ancho chili.
- Mediterranean Style: 4 1/2 tsp kosher salt, 2 tsp granulated garlic, 2 tsp dried Italian seasoning.
- Asian Style: 4 1/2 tsp kosher salt, 2 tsp granulated garlic, 1 tsp Chinese 5-Spice powder, 1 tsp brown sugar.
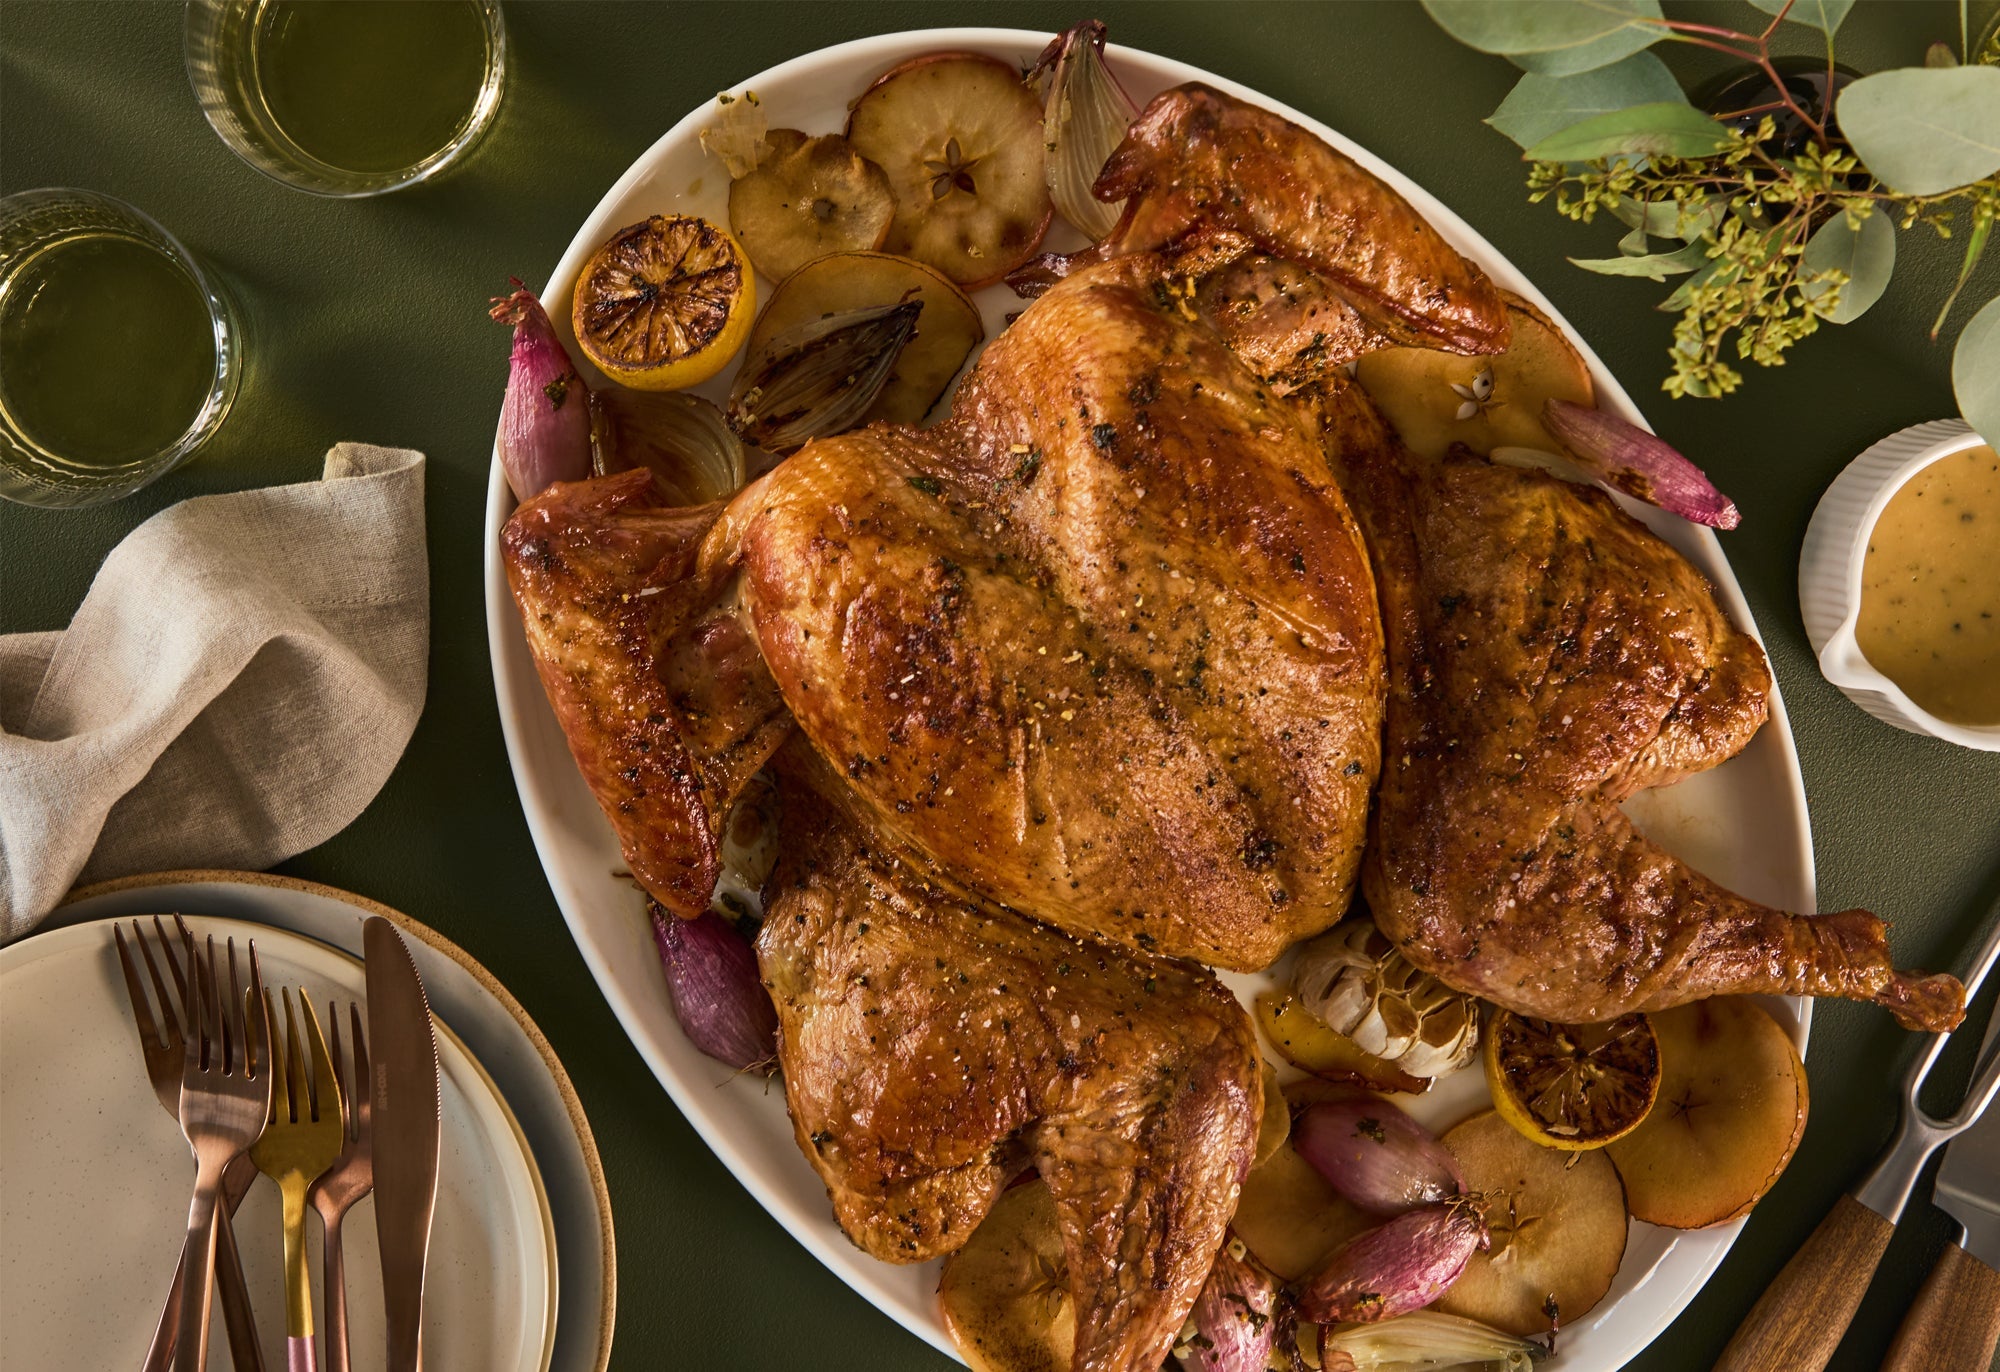
What’s the secret to moist, flavorful roast turkey with crisp, caramelized skin? Two simple things: spatchcocking and dry brining.
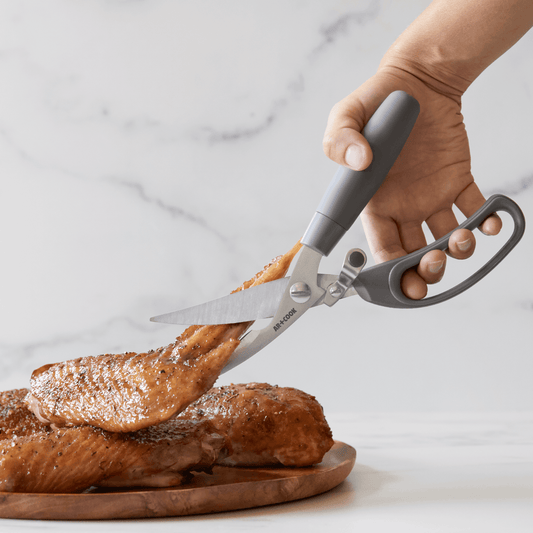
Spatchcocking (i.e., cutting out the backbone and butterflying the bird) makes it easier for the entire bird to cook evenly, so your white meat and dark meat can reach doneness at the same time. (It’s overcooked white meat that gives roast turkey such a bad rap.) Spatchcocking is a complete game-changer when it comes to roasting birds. It all but guarantees perfection every time. What you need are a good pair of kitchen shears and the step-by-step instructions I offer below.
Dry brining locks in flavor and moisture and takes up much less room in your refrigerator than traditional wet brining. The salt in a dry brine pulls moisture from the meat. As the turkey sits in the fridge uncovered overnight, the salt-and-spice-infused moisture then soaks back into the flesh, permeating every bite with perfectly balanced seasonings.
Instructions
Step 1 Spatchcock the turkey.
Place the turkey on a cutting board, breast-side down. Using kitchen shears, cut along both sides of the backbone, from tail to neck, removing the backbone completely. Set the backbone aside.
Turn the turkey breast-side up. Place your palms on one side of the breast and push down firmly with the heels of your hands to flatten a little. Repeat on the other side. With the heels of your hands over the center of the breastbone, press down firmly until it cracks and the turkey breast flattens.
Trim any excess fat and skin from the neck area and around the turkey cavity and reserve. Cut the tail from the backbone and reserve. Discard the backbone or reserve for another use.

Step 2
Dry rub the turkey.
Divide the salt in half and place into two small bowls. Set aside one bowl of salt. In the other bowl, stir in the granulated garlic, dried oregano, and smoked paprika.
Loosen the skin from the legs, thighs, and breasts using your fingers to gently separate the skin from the flesh, taking care not to tear the skin. Evenly spread the entire salt-garlic-paprika mixture under the skin, massaging it directly into the flesh. Pat the skin back into place.
Turn the bird over and sprinkle some of the remaining salt from the reserved bowl inside the cavity. Arrange the turkey, breast side up, on a rack positioned in a large, rimmed baking sheet. Stretch out the thighs and wings so the turkey lies flat. Tuck the wings behind the neck. Pat the skin dry with paper towels. Sprinkle the remaining salt evenly over the skin. Refrigerate the turkey, uncovered, overnight. Meanwhile, make the compound butter.

Step 3
Make the compound butter.
Put the butter, shallot, parsley, and zest in a medium bowl; mash with a fork until well combined. Refrigerate, covered, until ready to use. Remove the butter from the refrigerator and let come to room temperature before using.
Step 4
Roast the turkey.
About 90 minutes before you want to place the turkey into the oven, remove the turkey and the compound butter from the refrigerator and let come to room temperature. Thirty minutes before roasting, position a rack in the lower third of the oven and heat to 425°F.

Gently loosen the skin from the breasts and the legs (the skin will be a bit stiff but will separate from the flesh). Place 2 Tbsp of the softened compound butter under the skin of each breast, and 2 Tbsp under the skin of each thigh, pressing and pushing the butter to cover the flesh as evenly as possible without tearing the skin. Pat the skin back into place. Reserve 2 Tbsp of the remaining compound butter for the gravy.
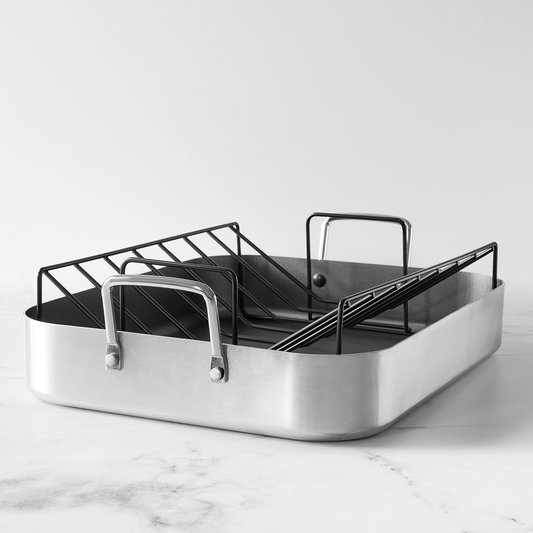
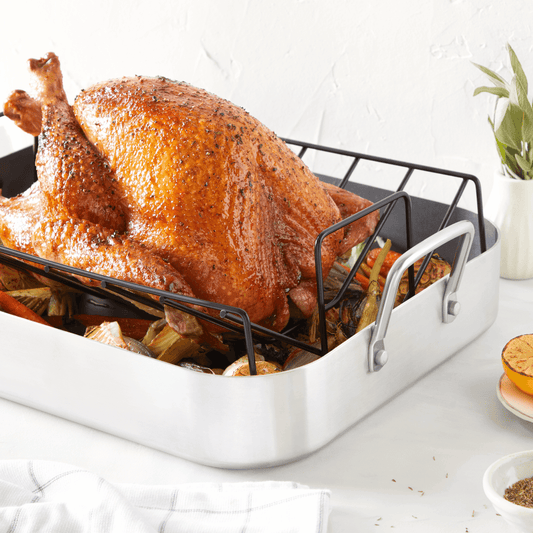
Pour 2 cups of the chicken broth into a clean 18-inch x 13-inch rimmed baking sheet or large roasting pan. Core and thinly slice the apples lengthwise. Evenly distribute the apple slices and the reserved tail and fat pieces in the broth on the baking sheet. Transfer the turkey and the rack to the prepared baking sheet or roasting pan; rearrange the ingredients in the pan, if necessary, so that the rack is level in the pan.
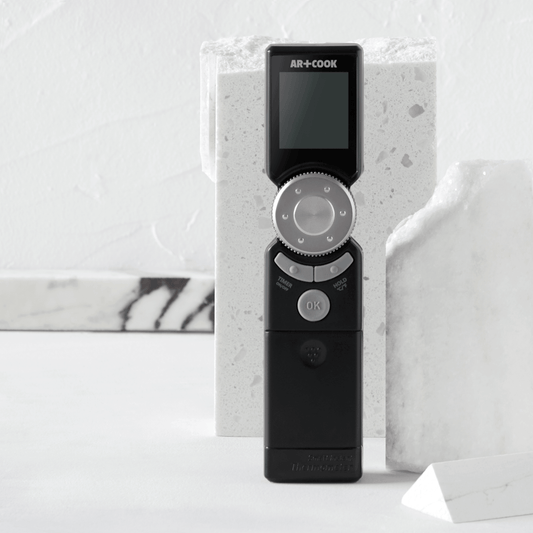
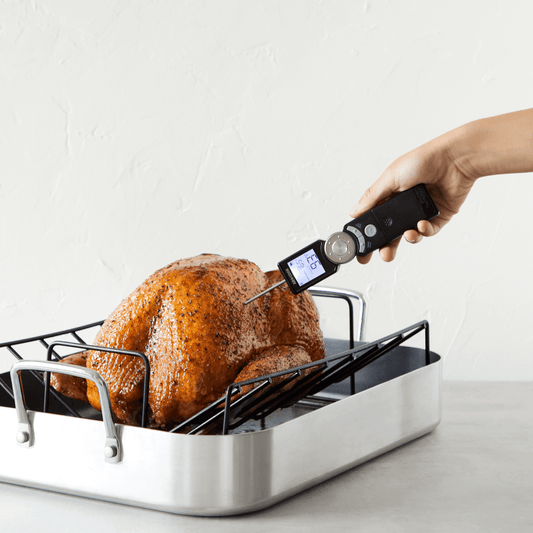
Roast the turkey, rotating the pan in the oven every 30 minutes, until a meat thermometer inserted into the thickest part of the breast (away from the bone) registers 165°F, about 90 minutes. Tent with foil if the skin begins to get too dark. If the broth in the pan dries up too much, replenish with a splash or two of chicken broth, as needed.

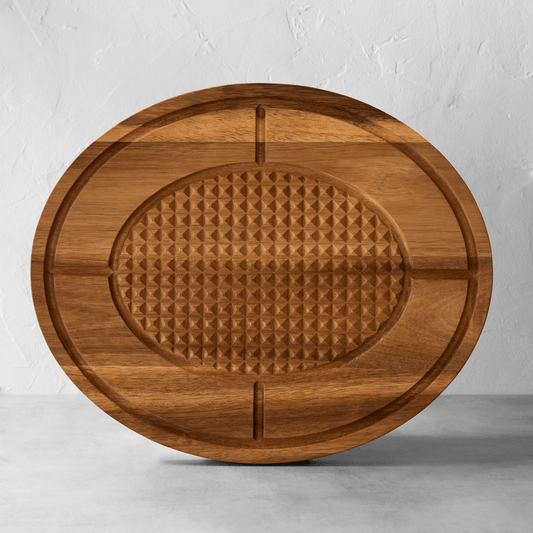
Transfer the turkey to a carving board to rest while you make the gravy.
Step 5
Make the gravy.
Carefully strain the pan drippings and apples through a medium fine-mesh strainer into a heatproof measuring cup or fat separator. Allow the fat to rise to the top, then spoon 2 Tbsp of the fat into a medium saucepan. Reserve ¾ cup of the pan drippings (if you don’t have enough pan drippings, top off with chicken broth).
If desired, transfer the apple slices from the strainer to a serving bowl, removing the tail and any fat pieces (eat the tail, if desired, discard the fat). Cover with foil until ready to serve.
Add the reserved 2 Tbsp of compound butter to the fat in the saucepan. Whisk continuously over low heat until the butter melts. Add the flour and continue to whisk until the mixture is well combined and begins to smell nutty, 2 to 3 minutes. Raise the heat to medium. Drizzle the ¾ cup reserved pan drippings and the remaining 1 1/4 cups chicken broth into the saucepan, whisking continuously until the gravy comes to a low boil and begins to thicken, 7 to 9 minutes. If a thinner gravy is desired, add more chicken broth while whisking continuously until the gravy reaches preferred consistency. Remove from the heat, adjust the seasoning with salt and pepper to taste, and transfer to a gravy boat.
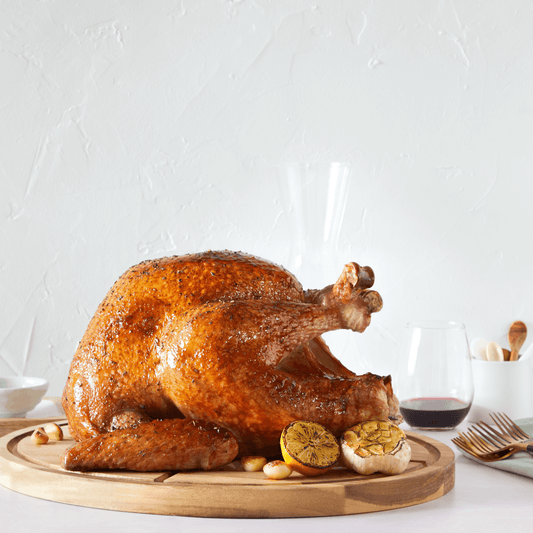
Carve the turkey and serve with the gravy and reserved roasted apple slices, if using.

Featured Products
Featured Posts



Join the Discussion